UV DTF, or Ultraviolet Direct to Film printing, is transforming the landscape of design and production, providing vivid colors and durability in a variety of applications. This innovative printing technique is perfect for both craft enthusiasts and small business owners looking to elevate their projects. In our beginner UV DTF guide, we will unravel the process and tools you need to succeed in UV DTF printing, ensuring you are well-equipped for your creative journey. From understanding how to apply UV DTF to mastering the UV DTF transfer process, this guide covers all essential bases. As you dive into UV printing basics, you’ll discover the endless possibilities for custom designs on multiple surfaces.
Also known as Ultraviolet Direct to Film, this advanced printing method enables crafters and business owners alike to create stunning prints that stand out. Employing UV inks, this technique combines the benefits of direct-to-film application with the eye-catching results typical of UV printing. If you’re eager to learn how to apply UV DTF, look no further—we’ll provide you with a comprehensive beginner’s guide to navigating this exciting printing realm. The distinct advantages of using UV DTF printing for various materials open an array of creative avenues for users. Explore the fundamentals of this innovative printing solution, and watch your designs come to life!
Understanding the Basics of UV DTF Printing
UV DTF printing, or Ultraviolet Direct to Film printing, is transforming the way designs are transferred onto various surfaces. This innovative technique utilizes UV light to cure the ink onto a specially designed transfer film, which can then be applied to materials such as textiles, ceramics, wood, and metal. The result is not only a stunning visual but also a durable finish, making it suitable for a multitude of applications ranging from personalized gifts to commercial products.
To grasp the fundamentals of UV DTF printing, it’s essential to understand how it integrates both UV printing technology and direct-to-film methods. The unique combination allows for high-resolution images with vibrant colors that can resist fading and wear over time. This method appeals to both hobbyists and business owners looking to expand their product offerings, particularly since it opens up avenues for creative designs that can stand out in a competitive market.
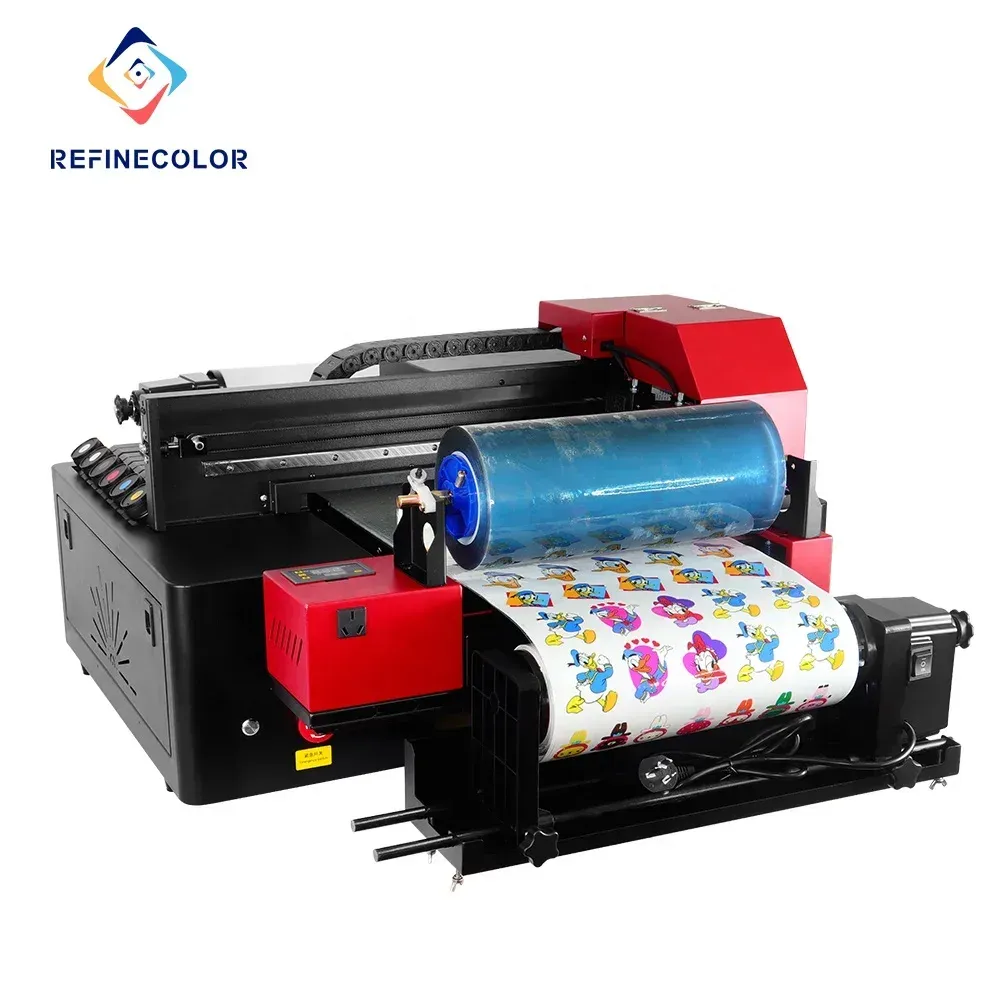
Getting Started: Essential Tools for UV DTF Transfers
Before embarking on your journey into UV DTF printing, gathering the right tools and materials is crucial for success. A UV DTF printer is your primary equipment, capable of handling UV inks and specialized transfer sheets. These transfer sheets, typically made from PET material, play a vital role in ensuring that your designs adhere properly to the desired substrate.
In addition to the printer and transfer sheets, having a squeegee or credit card for application and a lint-free cloth for cleaning surfaces are essential. These tools help maintain a clean workspace, which is critical for achieving the best possible results in your projects. Lastly, a reliable UV light source is necessary to cure the designs properly, ensuring that they stick well and maintain vibrant colors.
Crafting Your First Design: A Beginner’s Guide
Creating your first design for UV DTF printing can be an exciting yet daunting task. Start by selecting a software program such as Adobe Illustrator or Photoshop, where you can unleash your creativity. Make sure that your design is tailored to the specific dimensions of your transfer sheet for optimal results. Remember that high-resolution images will yield the best prints.
Once your design is complete, ensure that it is saved in the appropriate format compatible with your printer. XML or PNG files are often preferred. After printing your design onto the transfer sheet, inspect it closely for any imperfections before applying it to your substrate. This step is crucial as it can save time and resources by catching potential mistakes early in the process.
Applying UV DTF Transfers like a Pro
The application process for UV DTF transfers is where the magic truly happens. Begin by thoroughly cleaning the surface where you intend to apply the transfer. Dust, grease, or moisture can significantly affect adhesion, so take time to prepare the substrate properly. After ensuring it’s clean, align the transfer sheet accurately on the surface.
To avoid air bubbles during application, use a squeegee or card, starting in the center of the design and pushing toward the edges. This method ensures even adherence and prevents any trapped air. Once correctly applied, the next step is to cure the transfer with UV light, following the manufacturer’s guidelines regarding exposure time for the desired substrate.
Common Troubleshooting Techniques for UV DTF Printing
Despite following the instructions, issues may arise during the UV DTF process. For example, if you experience poor adhesion, double-check the surface preparation. An improperly cleaned surface can lead to poor results, so always ensure that the material is spotless.
Another common issue is the presence of air bubbles, which can occur if too much pressure is applied or if the transfer is not applied evenly. When troubleshooting these problems, remember to start from the center and work outwards with your squeegee, as this technique minimizes the chances of trapping air, leading to a smoother finish.
Exploring Creative Options with UV DTF Inks and Films
One of the exciting aspects of UV DTF printing is the versatility of inks and films available. Various brands of UV inks and transfer films can yield different textures and finishes. Experiment with different combinations to discover what works best for your design and desired outcome. This experimentation can lead to unique and innovative products that stand out in the marketplace.
Additionally, color calibration is an important aspect when working with UV printing. Always check your printer settings before starting a print to ensure that colors are accurately represented. UV inks can appear different once cured due to how they react under UV light, so performing test prints can help you calibrate your colors for optimal results.
Frequently Asked Questions
What is UV DTF printing and how does it work?
UV DTF printing, or Ultraviolet Direct to Film printing, combines UV printing technology with direct-to-film transfer methods. This allows you to print designs onto a special film that can then be applied to materials such as wood, metal, and textiles. During the UV DTF transfer process, the printed design is cured with UV light to create a vibrant and durable finish.
How to apply UV DTF transfers effectively?
To apply UV DTF transfers effectively, first clean your surface to ensure it’s free from dust and moisture. Next, position the transfer sheet carefully, then use a squeegee or credit card to smooth out air bubbles. After that, expose the transfer to UV light for proper curing before gently removing the transfer film to reveal your design.
What are the essential tools needed for UV DTF printing?
Key tools for UV DTF printing include UV DTF transfer sheets designed for this printing process, a compatible UV DTF printer, a squeegee or credit card for application, a lint-free cloth for surface cleaning, and a UV light source for curing the prints effectively.
What should beginners know about UV printing basics?
Beginners should understand that UV printing uses ultraviolet light to cure or dry the ink instantly. In UV DTF, the ink is printed onto a film, which is transferred to the substrate. It’s crucial to prepare the workspace, choose high-quality materials, and follow the manufacturer’s instructions for curing and application to ensure successful results.
What are common troubleshooting tips for UV DTF printing issues?
Common issues in UV DTF printing include poor adhesion, which may be fixed by ensuring thorough surface preparation, and air bubbles that can be avoided by smoothing the transfer from the center outward. If your design fades, recheck your UV curing process, as incomplete curing can lead to smudges.
Can I experiment with different films and inks in UV DTF printing?
Yes, experimenting with various films and inks in UV DTF printing can lead to exciting results. Testing different brands can help you find the best quality materials that work harmoniously together. Additionally, ensure color calibration in your printer settings to achieve vibrant and accurate designs.
| Key Point | Description |
|---|---|
| What is UV DTF? | A combination of UV printing and direct-to-film transfer. |
| Transfer Process | Steps include design creation, printing, surface prep, application, and curing. |
| Essential Tools | Includes UV DTF transfer sheets, a suitable printer, squeegee, cleaning cloth, and UV light. |
| Workspace Preparation | Set up a clean, well-lit, and ventilated area for printing. |
| Application Steps | Steps involve cleaning, positioning, smoothing, curing, and removing transfer film. |
| Common Issues | Includes poor adhesion, air bubbles, and fading or smudging of designs. |
| Experimentation | Testing different films and inks for varied finishes. |
Summary
UV DTF is an innovative printing technique that enables artists and businesses to create vibrant and long-lasting designs on various surfaces. By understanding the fundamentals of the UV DTF printing process, including the proper tools and techniques for application, newcomers can unleash their creativity while maintaining quality. This beginner’s guide emphasizes the importance of experimentation with materials and refining processes to achieve stunning results. Ultimately, mastering UV DTF printing can lead to limitless opportunities for both personal expression and professional ventures.