
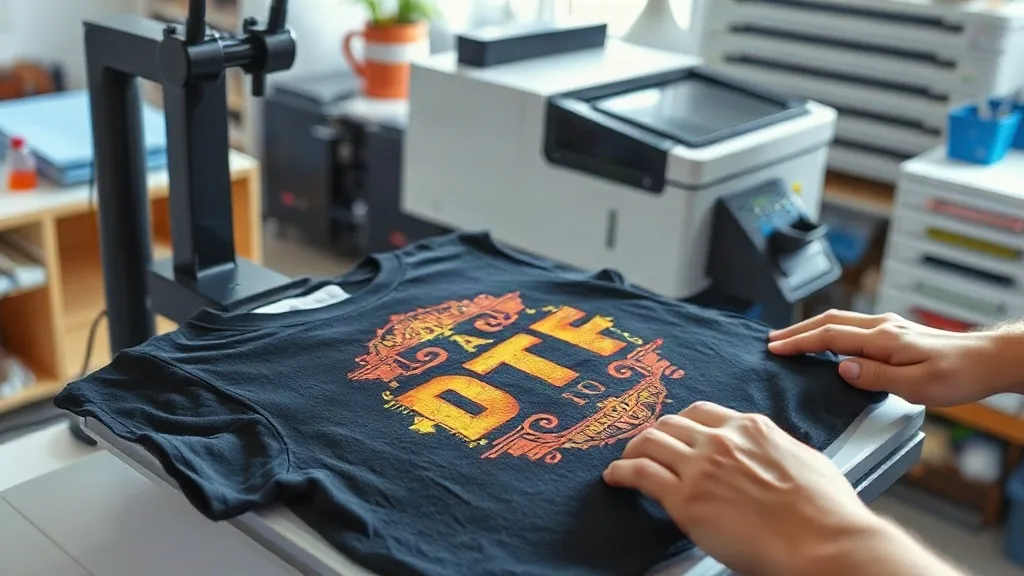
If you have been exploring custom apparel printing, you have likely encountered dtf transfers. This method has rapidly gained popularity among hobbyists and small business owners for its ability to produce full-color, detailed prints on a wide range of fabrics without the need for pre-treatment or specialized equipment. Unlike other printing techniques, dtf transfers offer a straightforward workflow that can be done from a home studio. In this guide, we will walk you through the essentials of DTF transfers, from understanding the technology to applying them like a pro.
What Are DTF Transfers?
DTF stands for Direct to Film. The process involves printing your design onto a special film using a DTF printer and then applying a powdered adhesive to the wet ink. Once the powder is melted, the design is ready to be transferred onto fabric using a heat press. The result is a soft, stretchable print that adheres well to cotton, polyester, blends, and even some synthetic materials. Because the design is printed on film first, you can create intricate details and vibrant colors that might be challenging with other methods.
Why Choose DTF Transfers?
There are several reasons why DTF transfers have become a go-to solution for many in the garment decoration industry. Here are a few key benefits:
- Versatility: DTF transfers work on almost any fabric, including dark colors and materials that are difficult to print with other techniques.
- Durability: When applied correctly, DTF prints resist cracking, peeling, and fading, even after multiple washes.
- No pre-treatment: Unlike DTG printing, DTF does not require you to pre-treat the garment, saving time and reducing chemical use.
- Cost-effective for small batches: You can print one-off designs or small runs without the setup costs associated with screen printing.
- Soft feel: The prints have a smooth, flexible hand feel that customers appreciate.
Choosing the Right Supplies
The quality of your DTF transfers depends heavily on the materials you use. Here is what you need to get started:
DTF Printer and Inks
A dedicated DTF printer uses pigment-based inks (usually CMYK plus white) that are formulated for the DTF process. While you can convert some inkjet printers, it is often more reliable to use a printer designed for DTF. The white ink is particularly important as it acts as a base for the colored inks, allowing the design to show up on dark fabrics.
DTF Film
DTF film comes in two types: cold peel and hot peel. Cold peel film requires the transfer to cool completely before removing the carrier sheet, while hot peel allows you to remove it while still hot. Both have their advantages, but hot peel is often preferred for faster production. The film must be compatible with your printer and ink.
Adhesive Powder
This is a crucial component. The powder is applied to the wet ink and then melted to create a bond between the ink and the fabric. There are different types of powder, such as fine and coarse, each suited to different design types. Fine powder is generally better for detailed designs, while coarse powder works well for bold, solid areas.
Heat Press
A heat press is essential for applying DTF transfers. You will need one that can reach temperatures of around 300-320°F (150-160°C) and provide even pressure. A clamshell or swing-away press works well, but make sure it has a digital temperature and time control for consistency.
Step-by-Step Application Guide
Applying DTF transfers is a straightforward process, but following the correct steps ensures a professional and durable result. Here is a detailed guide:
- Preheat the garment: Set your heat press to the recommended temperature (usually 300-320°F). Place the garment on the press and close it for 5-10 seconds to remove moisture and wrinkles. This step is important for proper adhesion.
- Position the transfer: Place the DTF transfer on the garment with the printed side facing up. The design should be in the desired location. If you are using a cold peel film, you can position it easily because the carrier sheet is still attached.
- Press the transfer: Cover the transfer with a protective sheet (like a Teflon sheet or parchment paper) to prevent the ink from sticking to the press. Close the press and apply medium to heavy pressure for the recommended time, typically 15-20 seconds. Check your film's instructions for exact times.
- Remove the carrier sheet: For hot peel, immediately and smoothly peel the carrier sheet off while it is still hot. For cold peel, wait until the transfer cools completely before peeling. Peel at a low angle to avoid lifting the edges.
- Post-press (optional): Some manufacturers recommend a second press of 5-10 seconds with a protective sheet to ensure the print is fully bonded and to enhance durability.
Common Challenges and Solutions
Even with careful application, you might encounter issues. Here are some common problems and how to fix them:
- Peeling edges: This usually indicates insufficient pressure or time. Try increasing pressure or extending the press time slightly. Also, ensure the garment is completely flat and free of wrinkles.
- Incomplete transfer: If parts of the design do not adhere, it could be due to uneven pressure or the transfer cooling too quickly. Make sure your press is evenly heated and apply firm pressure.
- Stiff feel: Using too much powder or over-pressing can cause a stiff print. Use a fine powder and follow the recommended settings.
- Color fading after washing: This might happen if the transfer was not applied at a high enough temperature. Always check the temperature with a heat gun or use a press with accurate controls.
Finding Quality DTF Transfers Near You
If you are not ready to invest in a printer, you can still enjoy the benefits of DTF by purchasing pre-printed transfers. When searching for dtf transfers near me, look for suppliers with positive reviews and clear instructions. Many online stores offer custom transfers where you can upload your design and receive ready-to-press films. Supporting local suppliers can also be beneficial for faster turnaround and personalized service.
Frequently Asked Questions
Can I use DTF transfers on 100% cotton?
Absolutely. DTF transfers work well on cotton, polyester, blends, and many other fabrics. The key is to follow the recommended temperature and pressure settings for the specific fabric.
How long do DTF transfers last?
With proper application and care, DTF transfers can last as long as the garment itself. They are resistant to cracking and fading, even after repeated washing. To maximize longevity, wash inside out in cold water and avoid ironing directly on the print.
Do I need a special printer for DTF?
While you can convert some inkjet printers to DTF, it is generally recommended to use a printer designed for DTF to ensure consistent results and avoid clogs. Dedicated DTF printers come with the necessary hardware and software for the process.
What is the difference between hot peel and cold peel DTF film?
Hot peel film allows you to remove the carrier sheet immediately after pressing while the transfer is still hot. Cold peel requires you to wait until the transfer cools completely before peeling. Hot peel is faster, but cold peel can sometimes provide a smoother finish. Both are effective when used correctly.
Can I layer DTF transfers?
Yes, you can layer DTF transfers, but it requires careful planning. Press the first transfer, then apply the second on top. Use a protective sheet and press again. Keep in mind that layering may increase the thickness of the print.
Final Thoughts
DTF transfers offer a versatile and accessible way to create high-quality custom apparel. Whether you are a hobbyist or a small business, mastering this technique can open up new creative possibilities. Remember to use quality supplies, follow the application steps precisely, and troubleshoot common issues as they arise. With practice, you will be producing professional-grade DTF transfers that impress your customers and keep them coming back.