
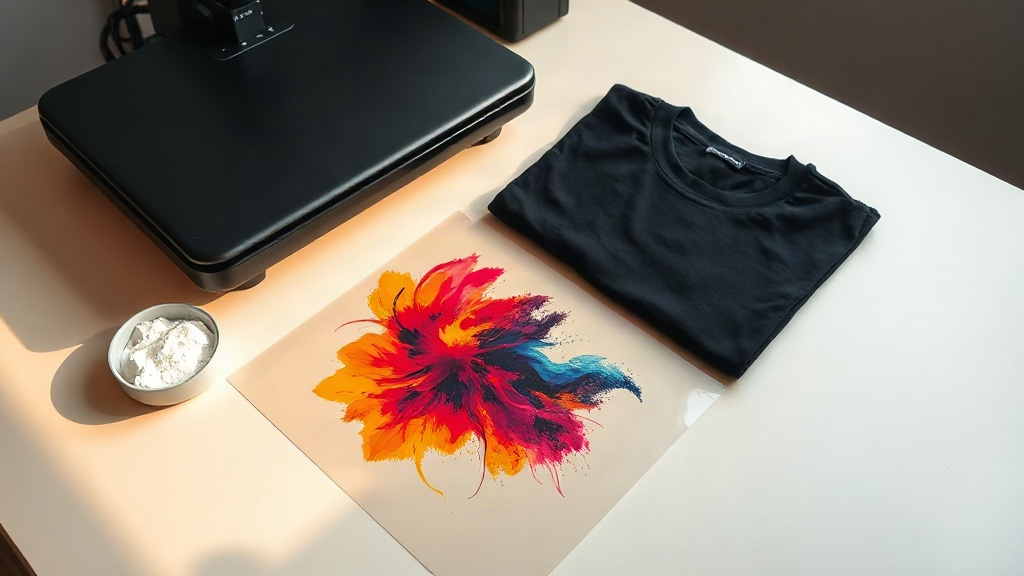
If you have spent any time in the custom apparel world lately, you have probably heard people talking about DTF Transfers. The name stands for direct-to-film, and it describes a printing method that has quietly become one of the most flexible ways to put full-color artwork onto fabric. Unlike vinyl cutting or screen printing, it does not care how many colors your design has, and unlike sublimation, it does not require a polyester surface. That combination is exactly why small shops, hobbyists, and even large production houses have started building their workflows around it.
This guide walks through what DTF Transfers actually are, how the process works from file to finished shirt, which fabrics they suit, and the mistakes that cause prints to peel or crack. By the end you should have a realistic picture of whether this method fits the kind of work you do.
What Are DTF Transfers, Exactly?
A DTF Transfers sheet is a printed film carrying your artwork in reverse, coated with a heat-activated adhesive powder. When you press it onto a garment, the adhesive bonds the ink layer to the fabric and the film peels away, leaving the design behind. The print itself is a thin, stretchy layer of pigment ink rather than a plastic transfer, which is why it feels softer than older heat-transfer papers and holds up better through washing.
The core idea is simple: you print on film instead of directly on the shirt. That single change removes most of the constraints that make other decoration methods difficult. You are no longer limited by garment color, fabric type, or the number of colors in the artwork.
Why the Method Gained So Much Traction
Before direct-to-film became accessible, shops that wanted photographic, full-color prints on dark cotton had few good options. Screen printing required a separate screen for every color, which made small runs expensive. Sublimation only worked on light polyester. Vinyl was fine for simple shapes but hopeless for gradients and fine detail.
DTF Transfers filled that gap. A single print can contain hundreds of colors, gradients, and photographic detail, and it works on cotton, blends, and even canvas. For anyone doing one-off shirts, small batches, or personalized orders, that flexibility changes what is possible.
How the DTF Process Works Step by Step
Understanding the sequence helps you troubleshoot later, because most problems trace back to one specific stage. Here is the full chain from digital file to finished garment.
- Artwork preparation. Your design is prepared in a RIP or printer software, usually with a white ink layer underneath the color layer. The white layer is what makes the print opaque on dark fabric.
- Printing onto film. A DTF printer lays down color ink and white ink onto a PET film. The image is mirrored so it reads correctly once transferred.
- Powder application. While the ink is still wet, thermoplastic adhesive powder is sprinkled over the print. Excess powder is shaken or vacuumed off.
- Curing. The powdered film passes through a heat source, usually a curing oven or a heat press, so the powder melts and fuses into the ink.
- Transfer. The cured film is placed on the garment and pressed. After cooling, the film is peeled away, leaving the design bonded to the fabric.
Each step has its own variables: ink coverage, powder type, curing temperature, press pressure, and peel timing. Get one wrong and you will see it in the finished product.
What You Need to Get Started
You do not need a full industrial setup to begin, but you do need the right pieces working together. A typical starter kit includes a DTF printer, film, adhesive powder, a curing method, and a heat press.
- Printer and inks. DTF-specific pigment inks are formulated to sit on film and bond with powder. Standard inkjet inks will not work.
- PET film. Available in cold-peel and hot-peel versions. Cold peel is more forgiving for beginners because the print sets as it cools.
- Adhesive powder. Usually a TPU-based powder. Finer particle sizes give a softer hand feel, while coarser powder bonds more aggressively.
- Curing equipment. A dedicated curing oven gives the most consistent results, though many small shops start with a heat press and upgrade later.
- Heat press. Consistent temperature and even pressure matter more than brand. A press with a digital controller and a pressure gauge will save you a lot of guesswork.
If you buy pre-made DTF Transfers from a supplier instead of printing your own, you can skip the printer and powder entirely. You still need a heat press, and you still need to dial in your press settings for that supplier's film.
Fabrics and Garments That Work Well
One of the strongest arguments for this method is how broad the fabric range is. Cotton, cotton-poly blends, tri-blends, canvas, and even some nylon and leather surfaces can accept a DTF print, provided the surface can take heat.
There are practical limits. Highly textured fabrics such as ribbed knits, coarse burlap, or heavy fleece with a deep pile can prevent full contact, which leads to incomplete adhesion. Very stretchy fabrics need a powder and press setup that can move with the garment. And heat-sensitive materials like some nylons or coated fabrics may distort before the adhesive fully cures.
Light Versus Dark Garments
On white or light shirts, a print can sometimes run with a thinner white layer, which gives a softer feel. On black or dark garments, the white layer needs to be dense enough to block the fabric color. If you notice a dull or muddy look on dark shirts, the white ink layer is usually the culprit, not the color ink.
Press Settings That Actually Hold Up
Suppliers publish recommended settings, and those are the right starting point. From there, small adjustments matter more than most people expect.
- Temperature: commonly in the 300 to 330 degrees Fahrenheit range, depending on the film and powder.
- Pressure: medium to firm, enough that you can see the fabric texture through the film after pressing.
- Time: typically 10 to 20 seconds for the transfer, with a separate pre-press to remove moisture from the garment.
- Peel: follow the film's cold-peel or hot-peel instruction exactly. Peeling at the wrong temperature is one of the most common causes of cracking.
Always pre-press the garment for a few seconds before transferring. Moisture trapped in the fabric turns to steam under the press and can interfere with adhesion, especially on heavyweight cotton.
Common Problems and How to Fix Them
Most failures fall into a handful of categories, and each one points to a specific cause.
Print Peels After Washing
This usually means the adhesive did not fully activate. Check that your press temperature is accurate with an infrared thermometer, increase pressure slightly, and extend the press time. Under-cured powder is another possibility if you are making your own transfers.
Cracking or Stiff Feel
A thick ink layer cracks more easily than a thin one. Reduce the white layer density where possible, use a finer powder, and avoid over-stretching the garment when you press it. Stretching a print beyond its elasticity will crack it regardless of how well it was made.
Dull Colors on Dark Shirts
Insufficient white ink coverage is the usual reason. Increase the white layer or use a film designed for dark garments. Pressing too hot can also scorch the top color layer and mute the print.
Caring for Printed Garments
Once a print is properly bonded, it can survive many wash cycles if the care instructions are reasonable. Turn the garment inside out, wash in cold or warm water, and avoid fabric softener, which leaves a residue that can weaken the bond over time. Tumble dry on low, or hang dry for the longest life. If you iron, do it inside out and never directly on the print.
Frequently Asked Questions
Are DTF transfers durable enough for everyday wear?
Yes, when they are pressed correctly. A properly applied transfer typically outlasts the garment itself in normal wash conditions. The key variables are full adhesive activation, correct peel temperature, and reasonable washing habits.
Can I use DTF transfers on 100 percent cotton shirts?
Absolutely. Cotton is one of the best surfaces for this method because it tolerates the heat needed for bonding. Blends and synthetics also work, but you may need to lower the press temperature to protect the fabric.
Do DTF transfers work on dark or colored garments?
They do, and this is one of their biggest advantages. The white ink layer underneath the color layer provides opacity, so a design keeps its brightness on black, navy, or any other dark shade.
How long should I press a DTF transfer?
Most films call for 10 to 20 seconds at medium to firm pressure, but the exact number depends on the manufacturer. Follow the supplier's recommendation first, then adjust in small increments if the print does not bond fully.
Is DTF better than vinyl or screen printing?
It depends on the job. Vinyl is faster for simple single-color shapes. Screen printing wins on very large runs of the same design. Where DTF Transfers shine is full-color artwork, small batches, and printing on fabrics that other methods cannot handle.
Final Thoughts
The appeal of this method comes down to freedom. You can print a photograph, a gradient, or a twelve-color logo onto a black cotton tee in a single pass, and the result feels like part of the shirt rather than a patch stuck on top. That is a meaningful shift for anyone who takes custom apparel seriously.
Start with a small batch of pre-made transfers to learn your press, then decide whether printing your own film makes sense for your volume. Once your settings are dialed in, DTF Transfers become one of the most reliable tools in a decorating setup.